
Materials
Chisel objects use Blender’s standard material slot for per-object color and shading. The “Chisel Material” properties panel adds a small color picker for quick tweaks, with an optional node graph for richer setups — color blending across booleans, masks driven by other objects, mixing two shaders by a soft seam.
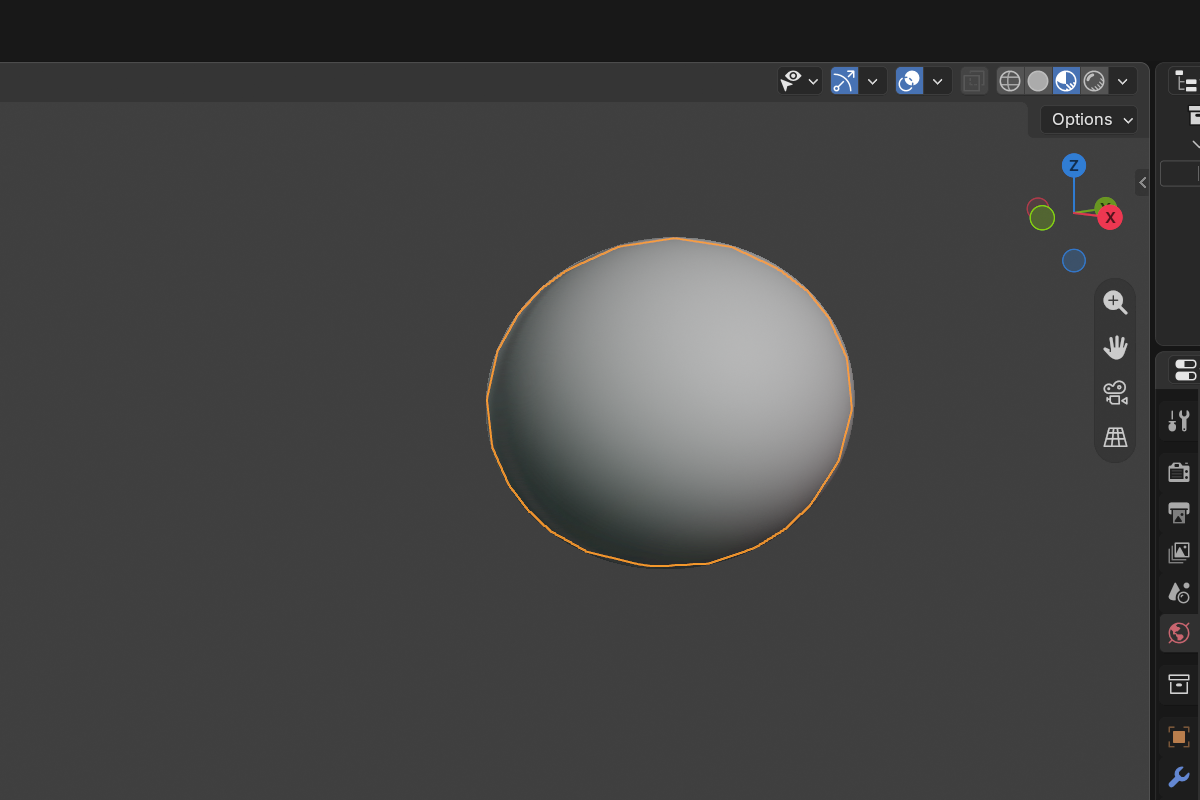
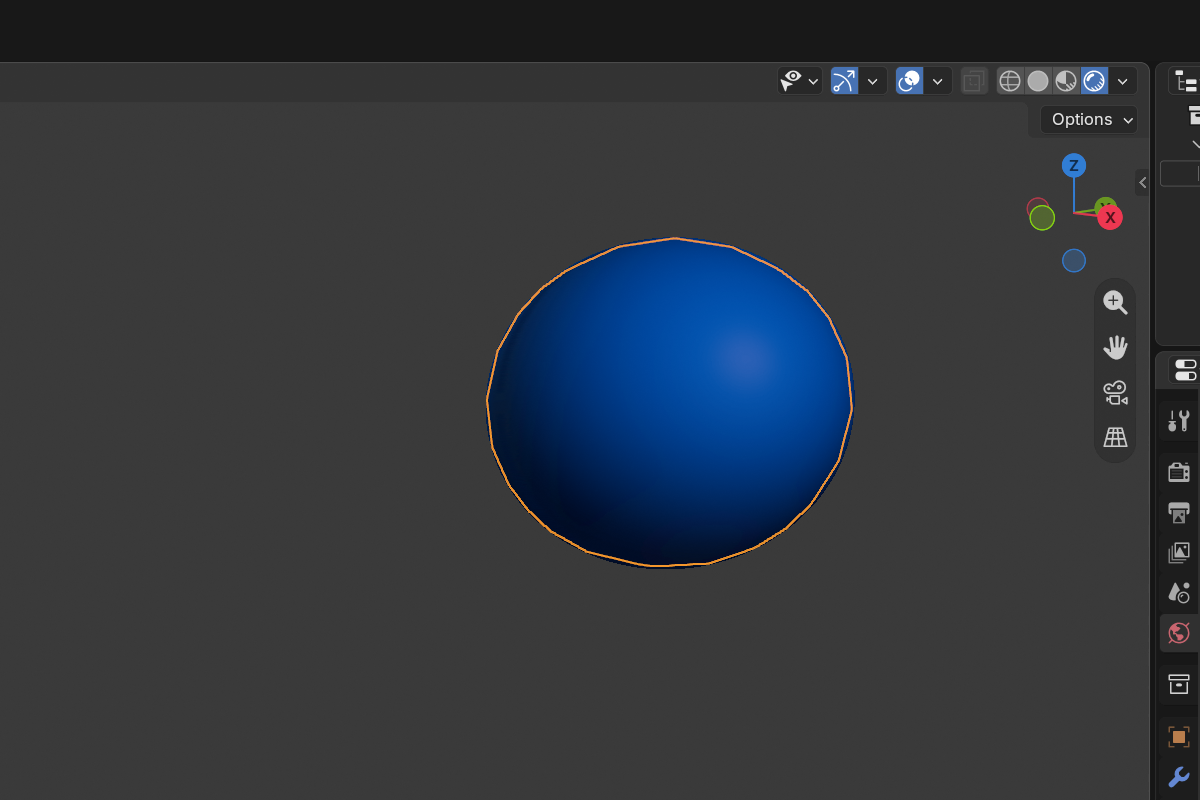
The default look: every object renders with the scene matcap, no per-object color applied. Below is the same scene with materials assigned — Chisel multiplies each object’s Color into the matcap so shapes carry their own tint without changing the underlying shading.
Topics
- Material Panel — the simple color workflow in Material Properties
- Node Editor — Chisel’s mini node graph (Matcap Shader, Mix Shader, Color, Field, Material Output)
Where to find it
With a Chisel object selected and the Chisel render engine active, open Material Properties (red sphere icon on the right). Chisel adds its Chisel Material section there.
If the object has no material yet, click the New button next to the material slot — Chisel creates one with a default Matcap Shader → Material Output node tree.
Quick path: just set a color
For most objects you only need one thing: a color.
- Select the object.
- Open Material Properties → Chisel Material.
- Drag the Color slider.
That’s it. The matcap stays the same scene-wide; the Color multiplies into it per object so each shape can carry its own tint without changing your viewport shading. See Material Panel for the panel breakdown.
What the node graph adds
The panel’s Color picker sets a single tint. The node editor additionally allows:
- A color seam that blends wider or sharper than the geometry seam.
- Different shading on different parts of one object, blended by an SDF mask.
- Two matcaps mixed through a soft falloff.
See also
- Render Engine: Matcap — scene-wide matcap and tint
- Modifiers: Boolean — Material Blend width control across boolean seams
- Render Engine: Baking — bake the shaded result to a diffuse map
2 items under this folder.