
Panels
Chisel’s properties live in three panels: Object Properties (per-object SDF + modifiers), Material Properties (per-object color and node tree), and Render Properties (per-scene engine settings).
Object Panel
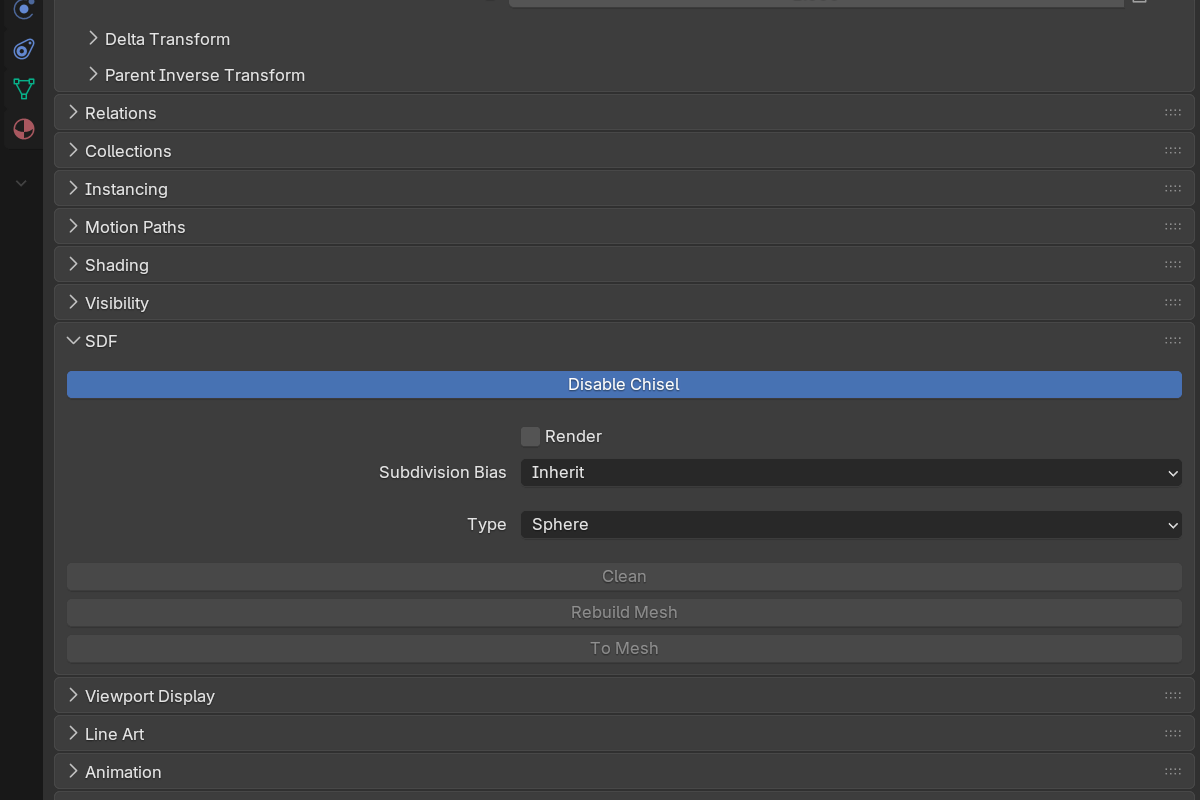
The Chisel section of Object Properties houses everything specific to the active object.
Primitive section
- Is Chisel — toggle SDF mode on/off. Disabling falls back to the standard mesh.
- Render — controls whether this object is included in the ray-marched render. It’s decoupled from viewport display: turn it off to drop the shape from the render while it still shows in the viewport (as a wire outline or bounding box if Outline is set).
- Primitive Type — change shape type after creation
- Half-Extents — derived from object scale; per-axis dimensions
- Shape parameters — depend on the primitive type (radius, depth, sides, cone cap, etc. — see Primitives)
- Rounding + Profile + Chamfer Smooth — edge-fillet controls (most primitives; see Rounding & Blending)
- Bevel + Bevel Profile + Bevel Smooth — vertical-edge fillet controls (Oblong, Prism, and Trapezoid; these three split the panel into a Bevel section and a Cap Rounding section)
- Subdivision Bias — offset this object’s requested hierarchy detail from the scene World Cell Size. Inherit (default) uses the scene value; each step finer halves the requested cell size (up to 4 levels), each step coarser doubles it
Below the shape parameters sit the per-object actions: Clean, Rebuild Mesh, and To Mesh.
Ngon points
An Ngon primitive replaces the usual shape parameters with an editable point list: index, X, Y, corner rounding, corner smooth, and an icon-only corner-profile dropdown per row, plus + / − buttons to add and remove points. Depth below it sets the half-height of the extrusion. Clicking a row makes that vertex active, which is also what the viewport Ngon gizmo drives.
Mesh SDF
For a mesh object that is not yet a Chisel object, the panel offers Convert Mesh to SDF right under the Chisel toggle. Once converted, a Mesh primitive gains three extra controls at the bottom of the panel: Rebake SDF, plus the Resolution and Field Margin the re-bake uses.
Bake direction
For per-object bake setup (used when baking maps):
- Bake Direction — Top / Bottom / Front / Back / Left / Right
- Bake Flip — invert horizontal axis of the bake
- Bake Height Origin / Range — height-map remap window
Modifier list
Below the primitive section, the modifier list shows every Chisel modifier on the active object.
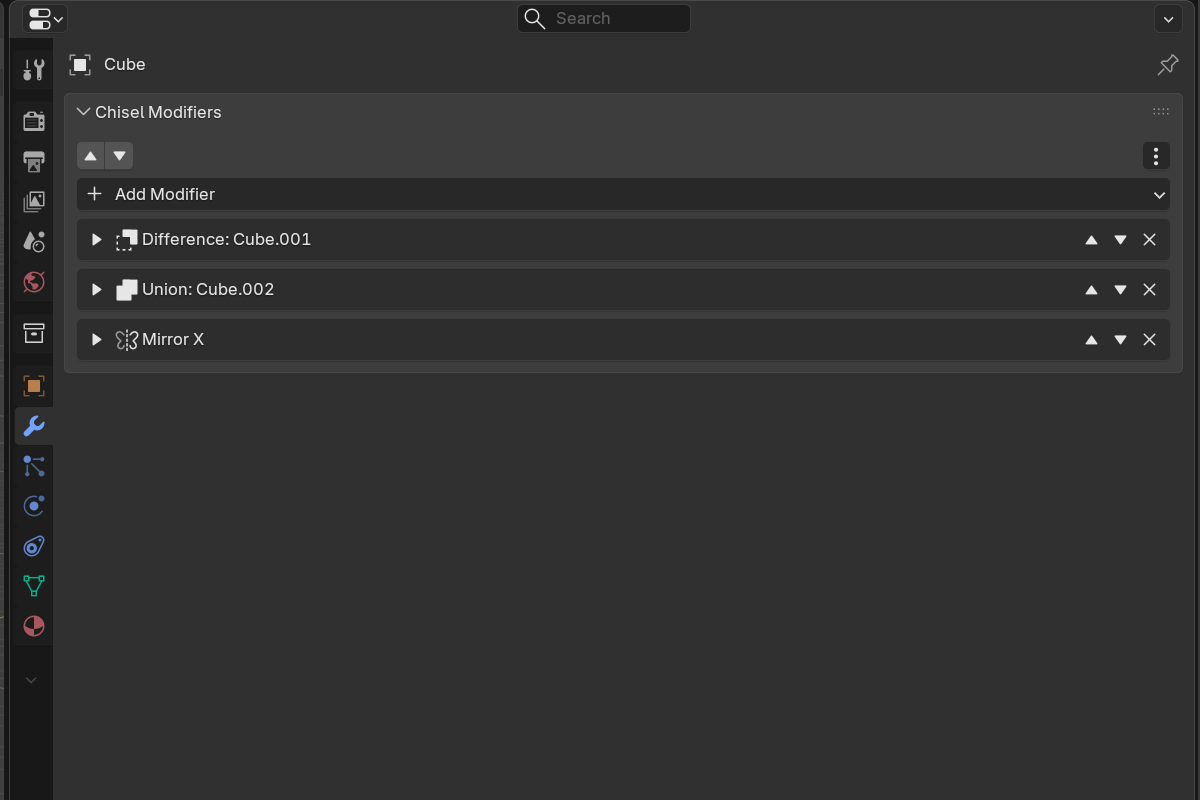
The toolbar at the top of the modifier list adds, removes, and reorders modifiers without dropping into menus.
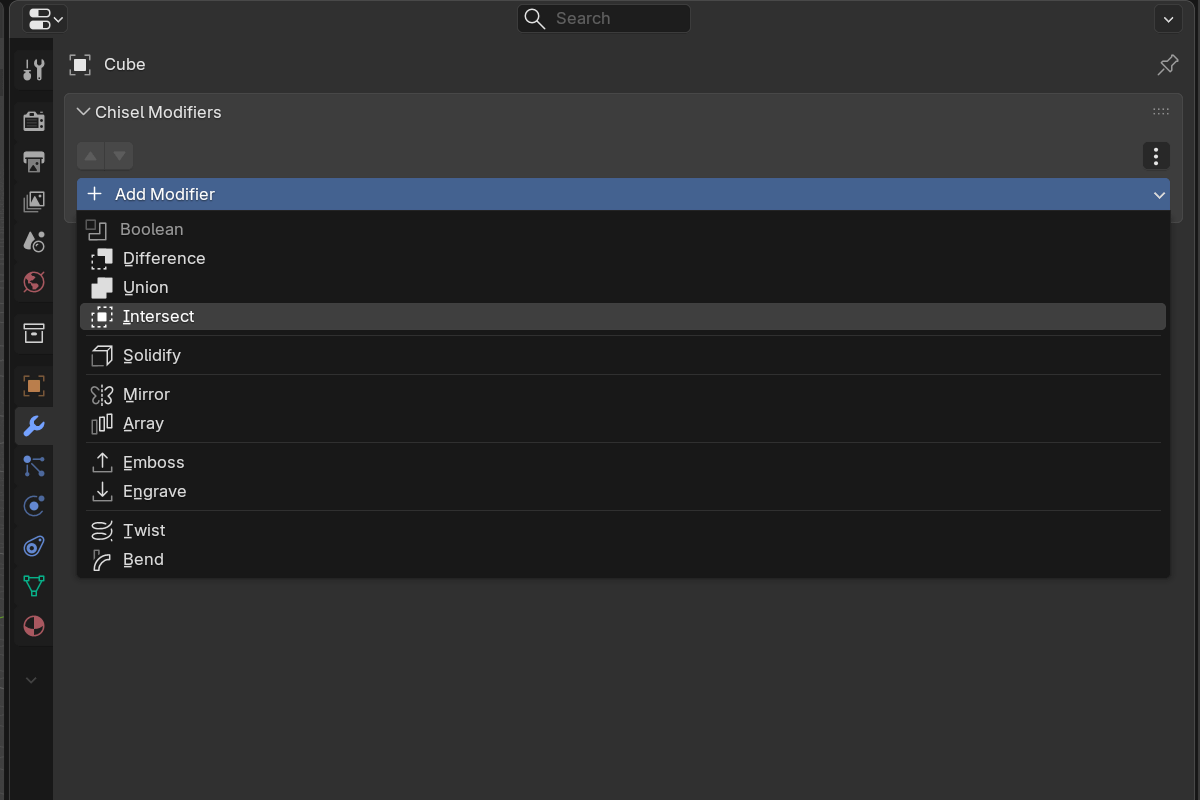
Each modifier row has:
- A header chevron to expand/collapse its options
- An operation icon (Difference / Union / Intersect / Mirror / Bisect / Array / etc.)
- A target pointer where applicable
- A pin control — pin a modifier to keep it pinned to the bottom of the stack; newly added modifiers insert above the pins. See Modifiers for detail.
- Reorder, duplicate, and delete buttons
Each expanded modifier shows its own settings block — see Modifiers for the per-modifier parameter list and screenshots of each settings block.
The list toolbar also carries a budget readout for the chain the active object belongs to: Objects N/256, turning red past about 80% of the cap, with a Modifiers M/… counter appearing once that cap is half used.
Material Properties
Per-object color and the Chisel node graph live in Material Properties (red sphere icon). For the simple color workflow and the node editor, see Materials.
Render Properties
Set the engine to Chisel in Render Properties to enable. The full breakdown of render settings — quality, progressive refinement, matcap, display, proxy, gizmos, baking — lives in Render Engine.