First Launch
After installing Chisel, you’ll switch on the render engine, spawn a primitive, and try a smooth boolean — the core loop of every Chisel scene. Plan on 5 minutes.
Your first SDF object
1. Start a fresh scene
File → New → General. The default scene gives you a cube, light, and camera. Delete the cube (X) — we’ll draw our own Chisel shapes.
2. Switch to the Chisel engine
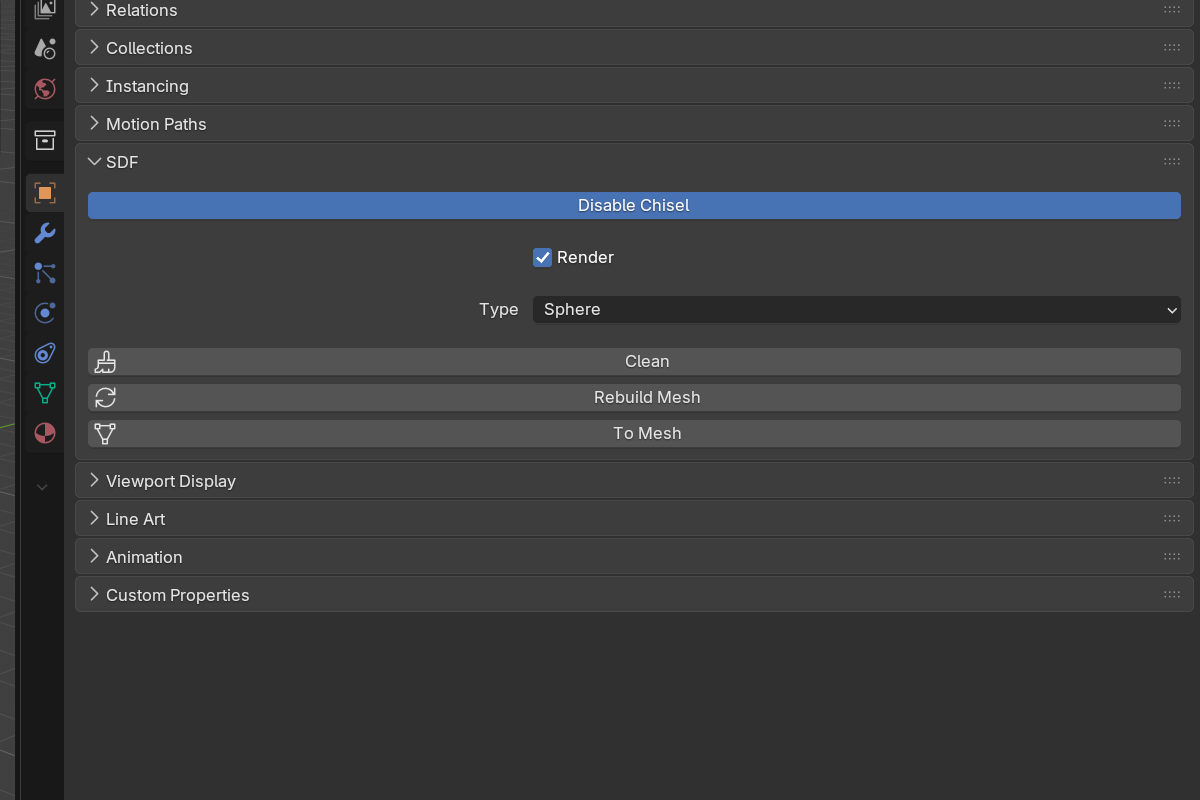
Open Render Properties (camera icon on the right) and set Render Engine to Chisel.

The viewport will go quiet for a moment — that’s the GPU compiling the ray-marching shaders. On Vulkan or Metal it takes a couple of seconds; on OpenGL it can take 30 seconds or more. This only happens once per session — the compiled pipelines are cached to disk, so later sessions warm up far faster. See the shader compilation note if you’re curious about what’s happening under the hood.
3. Set viewport shading to Material Preview
In the top-right of the 3D viewport, click the third sphere icon. The Chisel engine only renders in Material Preview — Solid and Rendered won’t show ray-marched surfaces.
4. Activate the Chisel tool
Press Alt + Q anywhere in the 3D View to activate the Chisel tool (or click its icon in the toolbar). Hover the tool icon: its tooltip opens with the version (v: 3.0.0) followed by the full hotkey list, so the active-tool shortcuts are always one mouseover away.
In v3 the Chisel hotkeys are tool-local.
Qopens the pie menu andShift + A,D, the quick-booleans and the rest only fire while the Chisel tool is active —Alt + Qis the one shortcut that works from any tool to switch into Chisel.
5. Add a Chisel primitive
With the tool active, press Q to open the Chisel pie menu and pick Box from the primitive grid. A new SDF box drops at the 3D cursor.
You can also use Shift + A → Cube (the tool’s add menu), or LMB-drag in the viewport to draw a box freehand.
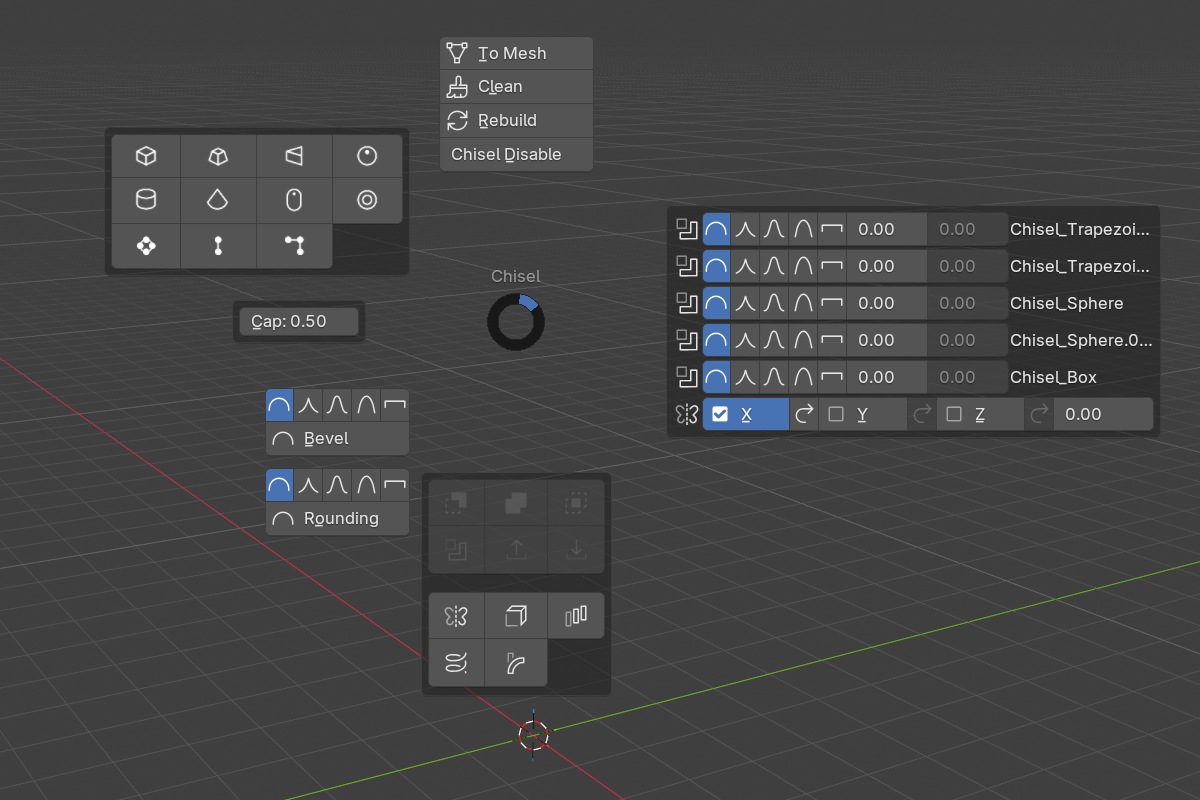
6. Tweak the box parameters
In Object Properties, scroll to the Chisel section. Try the following — every change updates live:
- Rounding — push it up to round the corners.
- Profile — switch between Round, Sharp, Soft, Tight, Chamfer to change the corner shape.
- Object scale (
Sin the viewport) — boxes resize cleanly without subdivisions.
7. Add a smooth boolean
Now carve a hole in your box.
- With the box selected, press
Qand pick Sphere from the primitive grid. A sphere is added to the scene. - Move the sphere so it overlaps the box (
Gto grab). - Select the sphere, then Shift-click the box so the box is the active object.
- Press
Alt + −(orAlt + NumPad −). The sphere is wired in as a Boolean Difference modifier on the box.
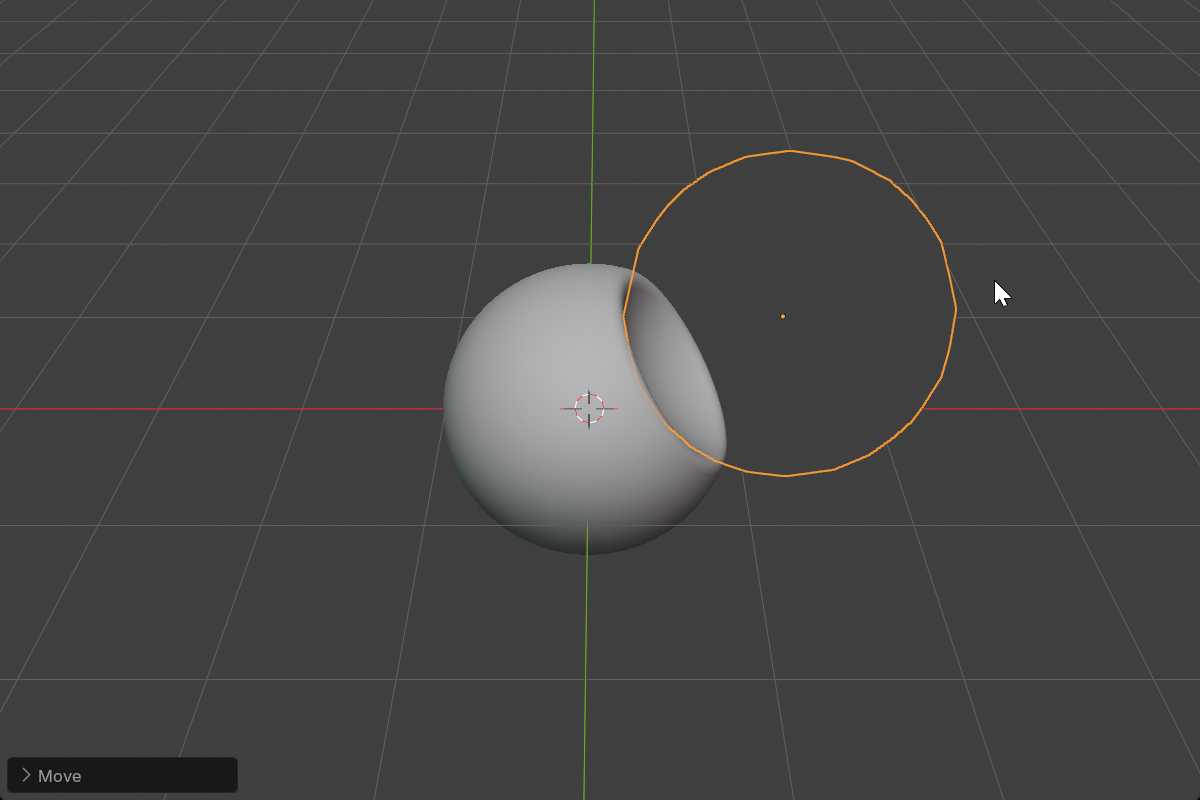
Open the box’s modifier panel, find the new Boolean modifier, and drag the Blend Radius up — the seam between the box and the carved hole becomes a smooth fillet.
8. Save the file
File → Save As. Chisel scenes save normally — the SDF data lives in object properties on the host objects.
What just happened
You set up a scene, enabled the Chisel engine, drew a primitive, tuned it, and combined two shapes with a smooth boolean — all without dealing with topology. That’s the loop you’ll repeat for every Chisel project.
What’s next
- Primitives — every SDF shape and its parameters
- Modifiers — booleans, mirror, array, twist, bend, solidify, emboss
- Rounding & Blending — the five fillet profiles in detail
- Render Engine — viewport quality, matcap, baking
- Raymarching & SDFs — what’s happening underneath